How to Get Reliable Cover in Free Fire
Players searching for “100% cover” usually want to survive exposed fights or protect a teammate. No position or item can guarantee complete protection in every match: enemies can change angles, use explosives, or approach from behind. You can, however, reduce exposure by combining hard cover, Gloo Walls, movement, and team communication.
Use Hard Cover First
Walls, rocks, buildings, and terrain can block incoming fire without consuming a deployable item. Before looting or reviving, identify the nearest solid cover and an exit route. Avoid standing at the edge of a doorway or window for too long; peek briefly, then change position.
Place a Gloo Wall to Break an Angle
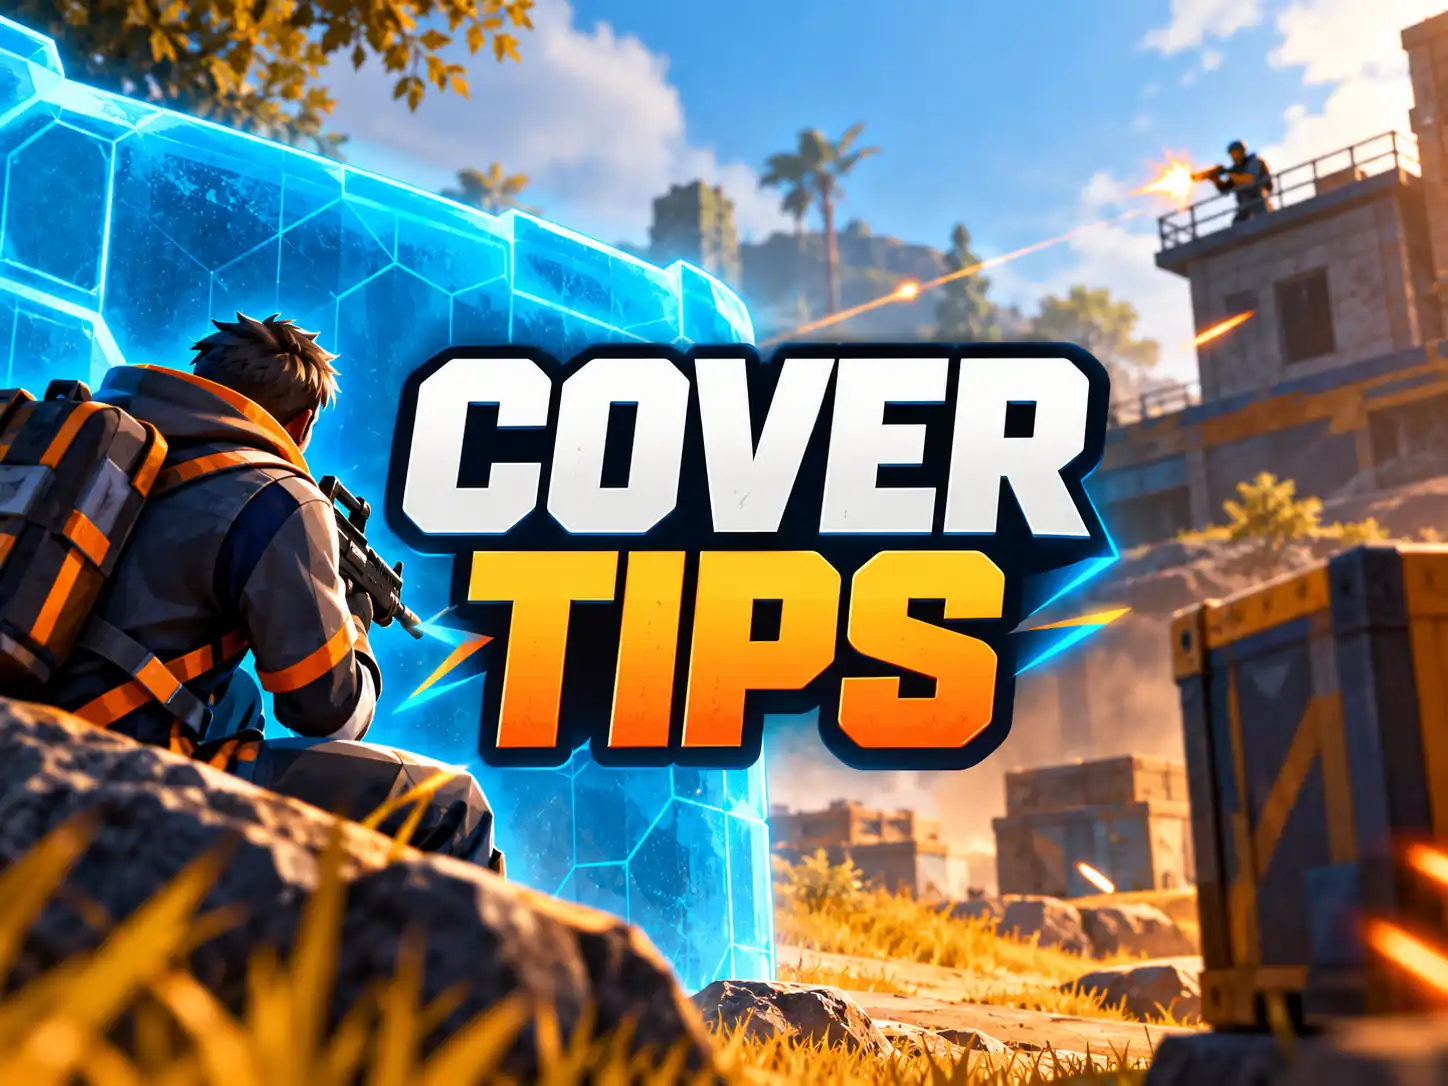
Use a Gloo Wall when you need to cross an exposed gap, revive a teammate, heal, or reset a fight. Place it between you and the known threat, then move behind it rather than standing beside its edge. If the opponents can see both sides of the wall, create distance or add another angle of cover when your supplies allow.
Protect a Teammate Without Blocking Them In
When a teammate is knocked, first check where the shots came from and whether another enemy has a flank. Place cover between the teammate and the threat, communicate that you are reviving, and watch the approach. Do not crowd both players behind the same narrow obstacle if an explosive or flank could catch everyone.
Rotate Before the Zone Forces You
Crossing late often means running through open ground while opponents already hold cover. Check the minimap, choose a route with terrain or buildings, and move before the safe zone becomes urgent. If you must cross an exposed area, use short movement from one piece of cover to the next instead of stopping in the open to fight.
Manage Cover Supplies
Keep track of how many Gloo Walls or other defensive items you have, if they are available in the selected mode. Avoid spending every wall on a low-risk engagement. Save at least one option for a revive, retreat, or final-zone reposition when possible.
Practice Cover Placement
Use training or a casual mode to learn your placement controls and how quickly you can deploy a wall. Practice placing it while moving, then shifting to a new angle. Good cover is temporary: after an opponent identifies your position, change your angle instead of repeating the same peek.
Cover Checklist
- Identify hard cover before starting a fight.
- Know the enemy’s last seen direction and possible flank routes.
- Use a Gloo Wall to create time and break line of sight.
- Communicate before reviving or rotating.
- Move after using cover so opponents cannot pre-aim the same angle.
Frequently Asked Questions
Can any Gloo Wall provide 100% protection?
No. It can block some lines of fire, but it does not protect every side or prevent every attack.
Should I place a wall directly on a knocked teammate?
Place cover to block the threat while leaving enough room to approach and move. Check for a second enemy before committing to a revive.
Is cover useful in solo matches?
Yes. Terrain and buildings remain useful, and a Gloo Wall can create a brief safe window to heal, reload, or reposition.